

If you have ever tried to put tabs in a Bible and ended up with a row of crooked letters, a sticky tab stuck to your sleeve, and a page corner that refuses to lie flat, you know exactly why I put this off for years. I am Ruth, and for eleven years I have led a Wednesday night women's Bible study around my kitchen table. I wear reading glasses, I study most mornings with a cup of coffee, and my old study Bible has a soft spine and thin pages that have turned thousands of times. I wanted tabs for years. I was afraid of the mess.
When I finally tried the Mr. Pen Bible Tabs, the 75 tab laminated set, I found a method that changed my mind. The tabs are printed on sturdy laminated paper with a mild adhesive, and they come in a neat sheet that you punch out one at a time. The set covers every book of the Bible, with a few spares left over. This is how I put them in neatly, and how you can too, without bubbles, without overlaps, and without losing your place halfway through. I have now done it on my study Bible and helped two friends do theirs at this same kitchen table, so I have a good idea of what trips people up.
The tabs I used: Mr. Pen Bible Tabs, 75 laminated tabs
A full set of 75 tabs covers every book of the Bible with spares to spare. The laminated finish holds up to daily page turning, and the adhesive is forgiving while you position each tab. Check today's price on Amazon.
Amazon Check Today's Price on Amazon →Step 1: Gather Your Tools and Clear the Table
Before you open the tab sheet, set yourself up for success. You need a clean, dry table, because dust and crumbs are the enemy of adhesive. I clear off my kitchen table, wipe it with a damp cloth, and let it dry completely. I also bring a ruler, a soft cloth, and a pair of reading glasses, because the letters on the tabs are small and you want to see exactly what you are doing.
Work in good light. I pull my chair to the window or turn on the overhead light, because the edge of a page can cast a shadow right where the tab needs to go. If you have a desk lamp, aim it at the Bible from the side so the edge of the pages is lit. This sounds like a small thing, but it is the difference between tabs that line up and tabs that wander. The light also helps you see which side of the page the tab should go on, because the printed text tells you the book name and you want it facing the right direction.
One more tool helps more than you would expect: a clean sheet of paper. I slide a sheet of plain paper under the page I am working on. It gives the page a little extra stiffness while I press the tab, and it catches any bit of adhesive that might squeeze out. It also protects the pages underneath from the oils on my fingers. This is a trick I learned after my first attempt left a few faint fingerprints on my Bible.
Step 2: Decide Where to Start
You do not have to tab the whole Bible in one sitting. In fact, I recommend you do not. Start with one section, either the New Testament or the Old Testament, and get comfortable with the rhythm before you tackle the rest. I started with the New Testament because I turn to it most often during the week, and because it is shorter, which meant I could finish a complete section in about twenty minutes.
The Mr. Pen set is arranged in a logical order, but you can place the tabs in any order you like. Some people prefer to start at Genesis and work straight through. Others, like me, prefer to start with the books they use most. The tabs themselves do not care. What matters is that you place each one on the correct book, and that you give yourself room to make a mistake without having to redo the whole Bible.
Think about how you actually use your Bible. If you are in a small group that is studying a particular book, tab that book first. If you are preparing for a class, tab the books you will need that month. Tabs are a tool, not a test. There is no rule that says you must finish the entire set in one afternoon. The neatest tabs I have ever seen were done over the course of a week, a few books each evening.
Step 3: Line Up the First Tab
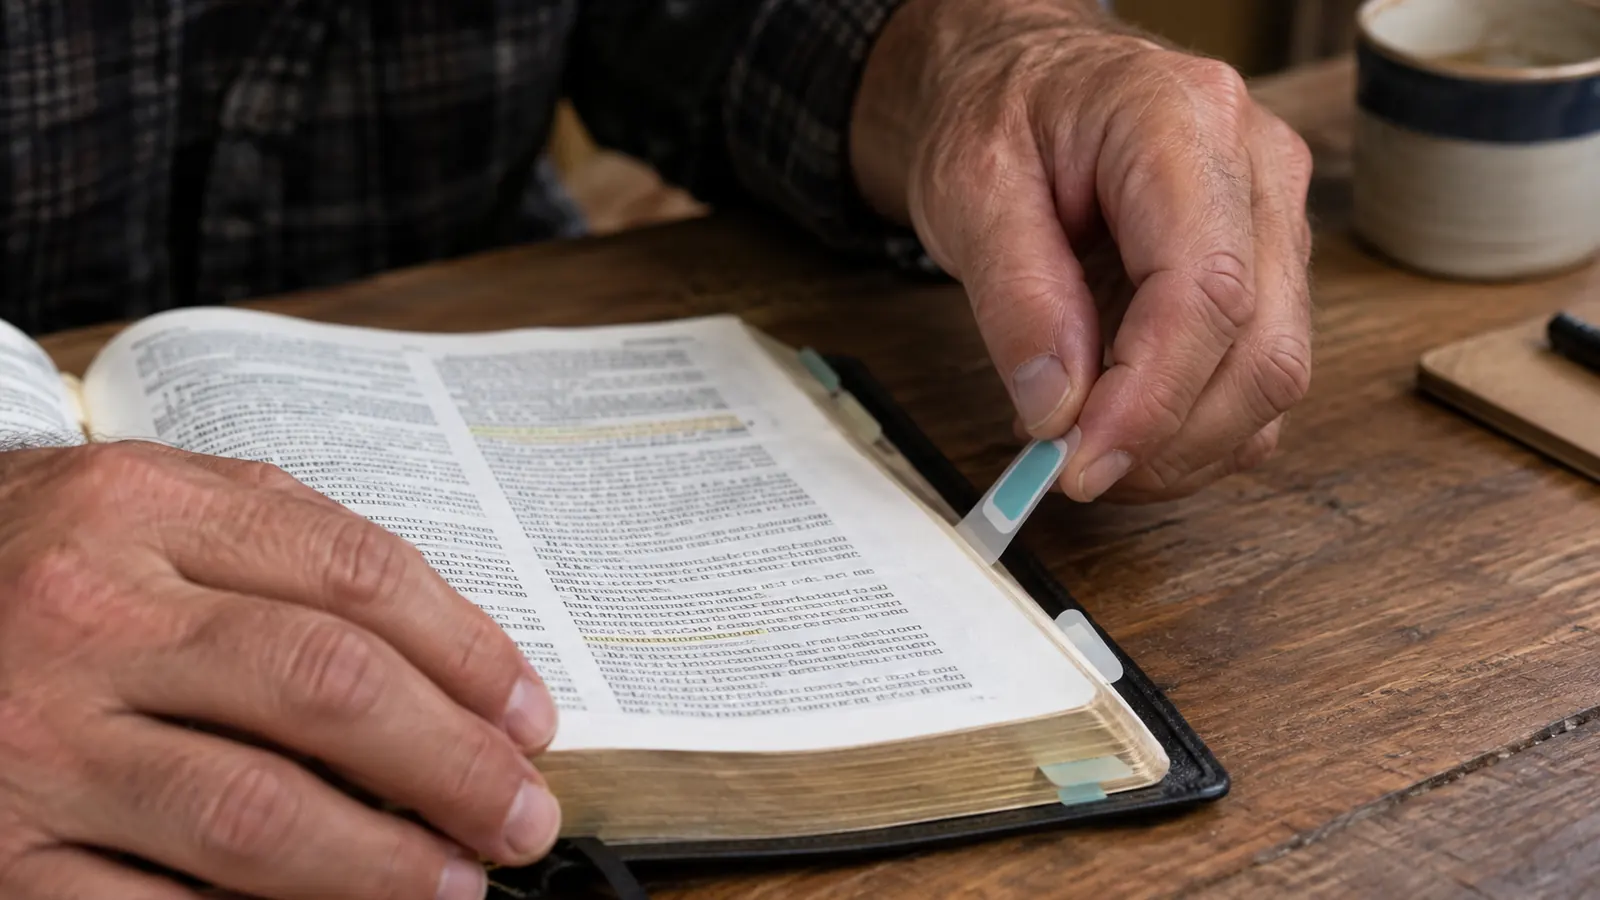
Open your Bible to the first page of the book you want to tab. For the New Testament, that is Matthew. Take one tab from the sheet and hold it next to the page edge, without peeling the backing yet, so you can see where it will sit. The tab should stick out far enough to be visible when the Bible is closed, but not so far that it catches on the cover or gets bent when you close it.
Use your ruler to check the alignment. I line up the top edge of the tab with the top edge of the page, or with the tab on the page above it if I have already placed one. When it looks right, peel the backing and press the tab onto the page edge, starting at the center and smoothing outward. This pushes air out from underneath and keeps the tab flat. If it is slightly off, lift it gently and try again. The adhesive is forgiving for the first few seconds.
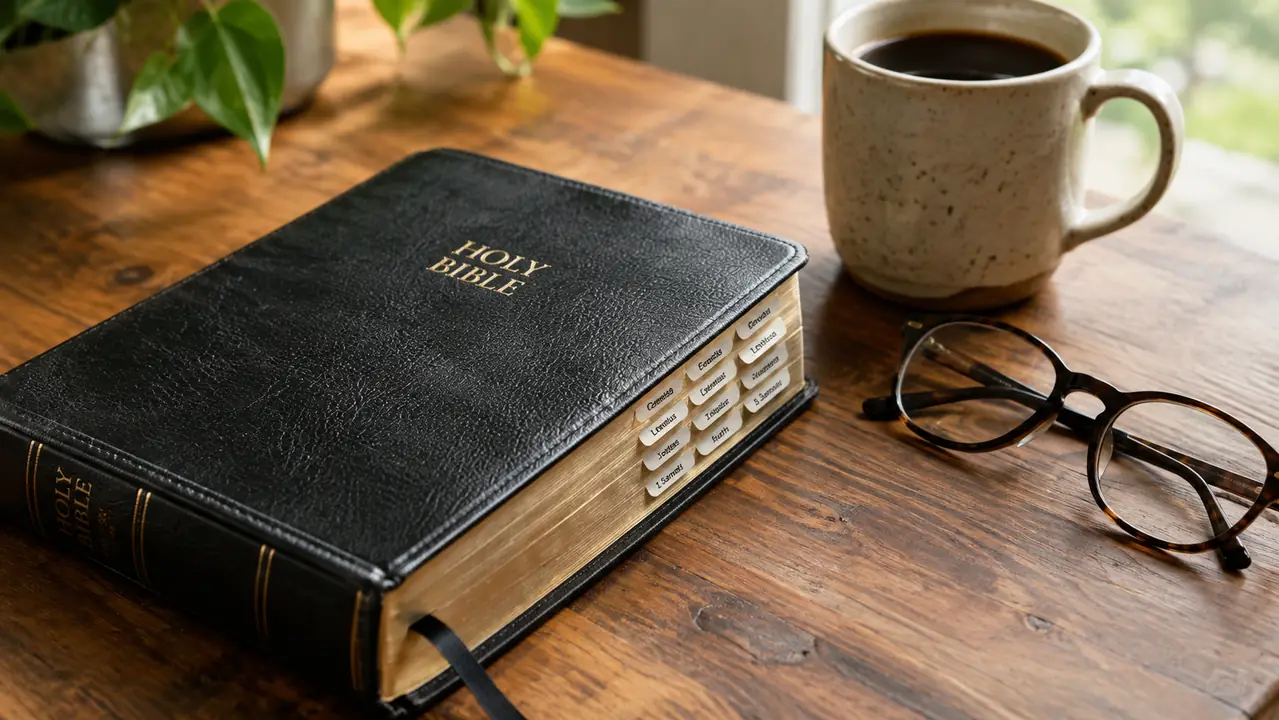
Here is a detail that surprised me: the position of the tab matters more than the exact angle. If the tab is a little high or low, it still works, but if it is angled, it will look messy every time you open the Bible. So I place the tab, check it with the ruler, and adjust before I press down firmly. A straight row of tabs along the edge is what makes a Bible look tidy. The Mr. Pen tabs are narrow enough that you can fit all sixty six books along the edge without them crowding each other.
Step 4: Work in Small Batches, Not All at Once
Here is the mistake I made the first time I tried tabs on a different Bible: I tried to do all sixty six books in one evening. By the time I reached the Psalms, my fingers were sticky, my eyes were tired, and the tabs were getting crooked. The neat result comes from working in small batches. I now do five or six books at a time, close the Bible, check the edge, and then move on to the next batch.
Working in batches also gives the adhesive time to set. When you press a tab and then immediately close the Bible, the pages can shift and pull the tab out of place. If you let each small batch sit for a few minutes before you close it, the tabs stay where you put them. The Mr. Pen tabs are laminated, which means they do not curl or soften when you handle them, but they still need a moment to bond with the page.
I also keep a small bowl on the table for the backing papers as I peel them. It sounds silly, but a pile of sticky backing papers can get stuck to your sleeve or to the pages. Keeping them contained means you can focus on the placement instead of chasing scraps. And when I finish a batch, I flip through the pages once to make sure none of the tabs have caught on each other. If two tabs are touching, I nudge one of them over just a little.
Step 5: Press, Close, and Let Them Set
When you have placed all the tabs you want, close the Bible and press along the edge with a soft cloth or the flat of your hand. This gives every tab one last firm press against its page. Then set the Bible on a flat surface and put a couple of heavy books on top of it for an hour or overnight. The weight presses the tabs flat and helps the adhesive grab the page edge evenly.
The next morning, open the Bible and flip through it slowly. The tabs should lie flat against the edge, and each one should be easy to see without having to fan the pages. If any tab is loose, press it again and let it sit under weight for another hour. If any tab is in the wrong place, peel it off carefully and reposition it. The laminated finish means you can move a tab without tearing the page or leaving a sticky residue.
One thing I have learned from doing this more than once: do not skip the pressing step. Tabs that are pressed firmly the first time stay put for months. Tabs that are barely pressed will start to peel at the corners after a few weeks. I keep my Bible on the kitchen table, so it gets opened and closed every day. After six months, the Mr. Pen tabs are still flat and still easy to read. That is the result I wanted when I started.
What Else Helps
Three small things make a big difference. First, keep a soft cloth nearby to wipe the page edge before you place each tab, especially if you have been reading with coffee in hand. Second, use a ruler to check alignment every few tabs, because your eye will drift over a long session. Third, if you are tabbing a Bible with very thin pages, place the tab slightly closer to the top corner, where the page is stiffest, so it does not bend when you turn.
The Mr. Pen tabs work well on standard study Bibles, and I have also used them on a smaller journaling Bible with good results. The adhesive is strong enough to hold, but it is not so aggressive that it damages the paper when you remove a tab. That matters to me because I have a few pages in my Bible that are already fragile from years of use. I have also heard from friends who tabbed their Bibles and then moved a tab weeks later without any trouble.
If you study with a group, tabs make a quiet difference. When we are sitting around the table and someone says, 'Turn to Malachi,' nobody has to flip through the whole Bible to find it. The tabs are especially helpful for the women in our group who are newer to Bible study and still learning where the books are. It takes the frustration out of the search and lets us spend our time on the reading and the conversation.
I will not tell you that tabs will change your study habits overnight. They will not. But they will remove one small barrier between you and the page you are looking for. If you have been putting this off because you are afraid it will look messy, I hope this method gives you the confidence to try. The Mr. Pen set is affordable, forgiving, and neat enough to leave on your Bible for years. That is what I wanted, and it is what I got.
I found every book of the New Testament without flipping through the whole Bible on the first Wednesday night after I added tabs. That has never happened before.
Ready to set up your own Bible?
The Mr. Pen Bible Tabs set is the one I keep on my kitchen table. It is simple, it is neat, and it has held up for months of daily use. See today's price on Amazon.
Amazon Check Today's Price on Amazon →