

If you have ever underlined a verse, flipped the page, and found a faint ghost of that same line staring back at you from the other side, you know exactly why I am writing this. Thin Bible paper is a blessing when you want a book that is not too heavy to carry, and a trial when you want to mark it up. I have led a Wednesday-night women's Bible study at my kitchen table for eleven years, and for most of those years I simply accepted the bleed-through as the cost of doing business. Then a friend brought a set of BLIEVE highlighters to group one night, and I started paying attention to what actually works.
The good news is that you do not have to choose between a clean page and a marked one. The trick is a combination of the right pen, the right touch, and a few habits that take about ten seconds. Here is the method I have settled on after testing highlighters on my old study Bible, my journaling Bible, and a spare paperback Bible I do not mind experimenting on.
Start with a highlighter that dries before you turn the page
The BLIEVE set of aesthetic highlighters and gel pens is the one I keep reaching for. The soft ink dries fast, the chisel tip works on thin paper, and the colors stay pretty without soaking through.
Amazon Check Today's Price on Amazon →Step 1: Test your highlighter on the back page of the Bible first
Before you mark a single verse, turn to one of the blank pages at the back of your Bible, or the inside of the back cover. This is your testing ground. Draw a line, let it dry for a few seconds, then hold the page up to the light. If you can see the line clearly from the other side, that pen is going to bleed on your study pages too.
This is the step most of us skip, and it is the one that saves the most frustration. Different Bibles use different paper. Some are thicker, some are coated, some are almost tissue-thin. A highlighter that works beautifully in your friend's Bible may be too wet for yours. The back-page test takes thirty seconds and tells you everything you need to know.
When I tested the BLIEVE highlighters this way, the ink stayed on the surface of the page. That was the first sign they were going to work for my study Bible. I still do the test with any new pen, because paper can vary even between printings of the same Bible.
Last January, a woman named Carol joined our group and brought a bright yellow highlighter from the drugstore. Before she marked anything, I asked her to try the back-page test. She drew one line, held the page up to the light, and we both saw it clearly from the other side. She switched to a BLIEVE pen from the set on my table, and the same test came back clean. That one evening convinced her, and it convinced me that the test is worth doing every time, not just when you suspect a pen is too wet.
I keep a spare paperback Bible on my shelf for exactly this kind of experiment. I found it at a thrift store years ago, and it has taught me more about highlighter behavior than any review I have read. The paper in that little book is thinner than the paper in my main study Bible, so if a pen survives the back-page test there, I trust it anywhere. When I am testing a new set of pens, I mark the same verse in both Bibles and compare the backs of the pages side by side.
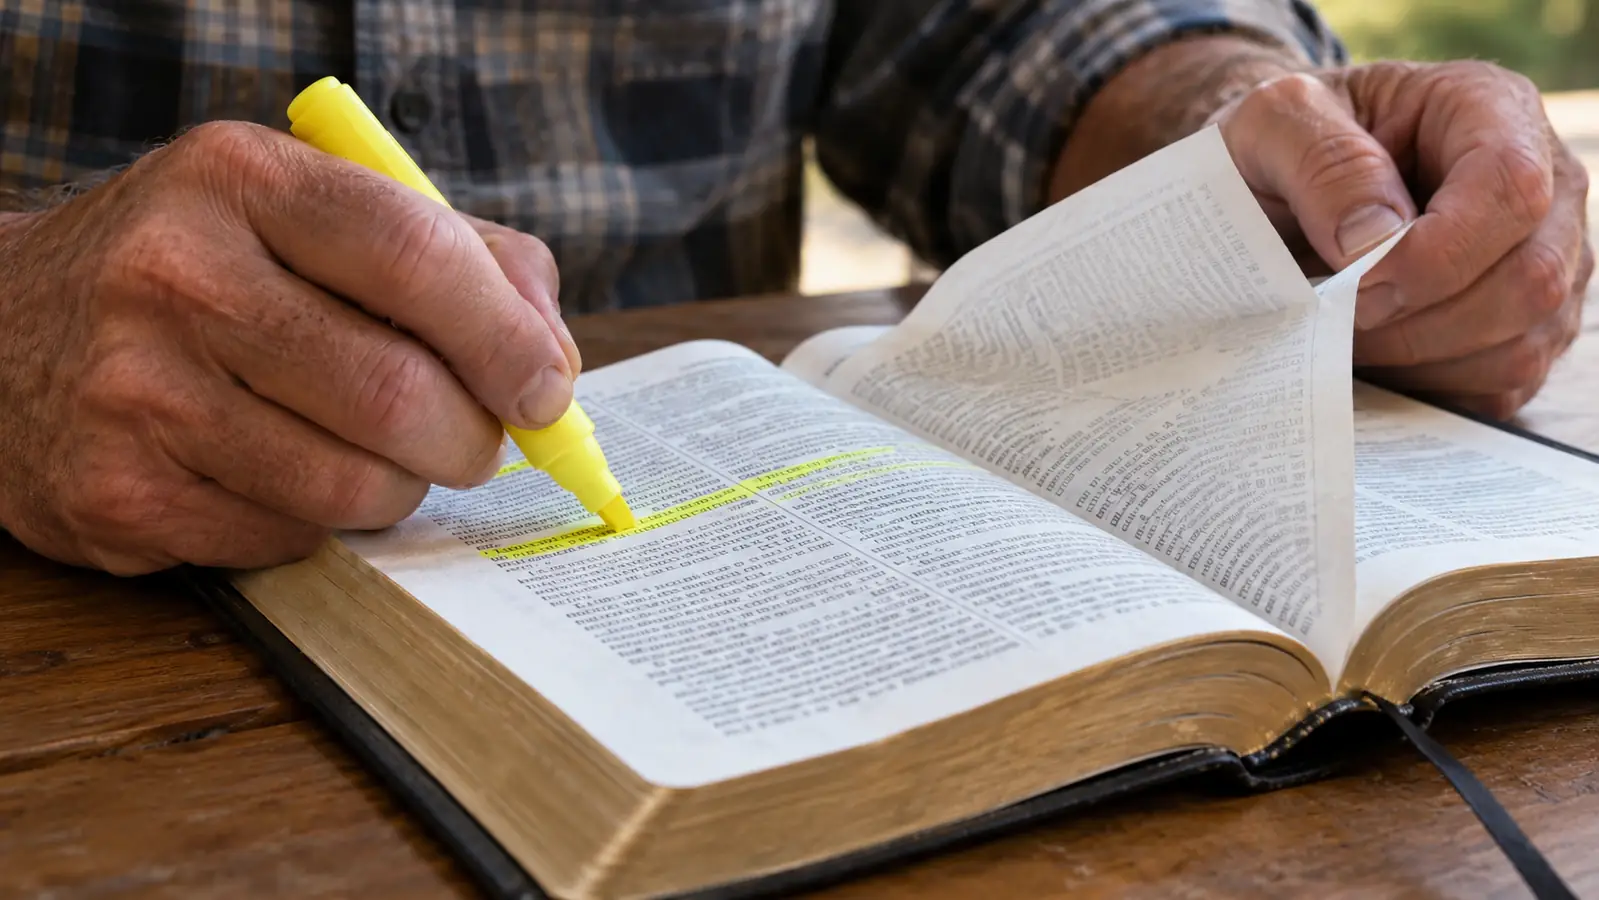
Step 2: Use a light touch and let the tip do the work
The biggest mistake I see in our study group is pressing down hard with a highlighter, the way you might with a ballpoint pen. Highlighters do not need pressure. The ink flows from the tip on its own. All you need to do is glide the pen across the page, letting the chisel tip sit flat against the paper.
Think of it like watering a plant. You do not pour the whole pitcher onto one spot and hope for the best. You let the water flow gently and evenly. A light stroke with a highlighter puts less liquid on the page, which means less liquid to soak through to the other side.
The BLIEVE highlighters have a chisel tip that makes this easy. The flat edge covers a good amount of text in one pass, so you are not tempted to go over the same line twice. Going over a line twice is the fastest way to create bleed-through, because the second pass re-wets the paper.
One morning last spring I tested this side by side. I marked the same verse twice, once with an old highlighter I had used for years and once with a BLIEVE pen, trying to use the same light pressure with both. The old pen left a line so wet it took a full twenty seconds to dry and left a shadow on the next page. The BLIEVE pen was dry in about five seconds, and the back of the page stayed clean. Same hand, same verse, same pressure. The only difference was the pen.
In our group, the woman who presses hardest is also the one who complains most about bleed-through. One night I watched her highlight a full paragraph in Acts, pressing down like she was writing a letter. I handed her a BLIEVE pen and asked her to try the same passage again with the tip barely touching the paper. She looked at the back of the page, then at me, and said, 'Well, that is just showing off.' She has been a convert ever since.
Step 3: Give the ink a few seconds to dry before you turn the page
This sounds almost too simple to mention, but it is the habit that changed everything for me. When you finish highlighting a passage, do not flip the page right away. Give the ink a few seconds to dry. Count to five slowly, or read the verse you just marked one more time. By the time you turn the page, the ink has set.
Fast-drying ink helps here. The BLIEVE highlighters dry quickly on the page, which means you do not have to wait long or worry about smudging. I have used highlighters in the past that stayed wet for what felt like a full minute, and those were the ones that bled through no matter how lightly I pressed.
If you are highlighting right up to the edge of the page, or marking a verse near the fold, give it an extra moment. The paper is thinnest near the edges, and that is where bleed-through shows up first.
Two summers ago I ruined a page in my journaling Bible by being in a hurry. I had highlighted a passage in Romans, turned the page immediately to check a cross-reference, and when I turned back, the facing page had a faint pink smear where the ink had transferred. It was not a disaster, but it was a mark I could not unmake, and I have been careful ever since.
Now I have a simple rule for myself: I do not turn the page until I have read the marked verse twice. That takes about six seconds, which is exactly how long the BLIEVE ink needs to set on thin paper. When I am teaching on Wednesday nights, I am often tempted to rush, because the group is waiting and the coffee is getting cold. But the two-read rule has saved more pages than any other habit I have adopted, and it costs nothing.
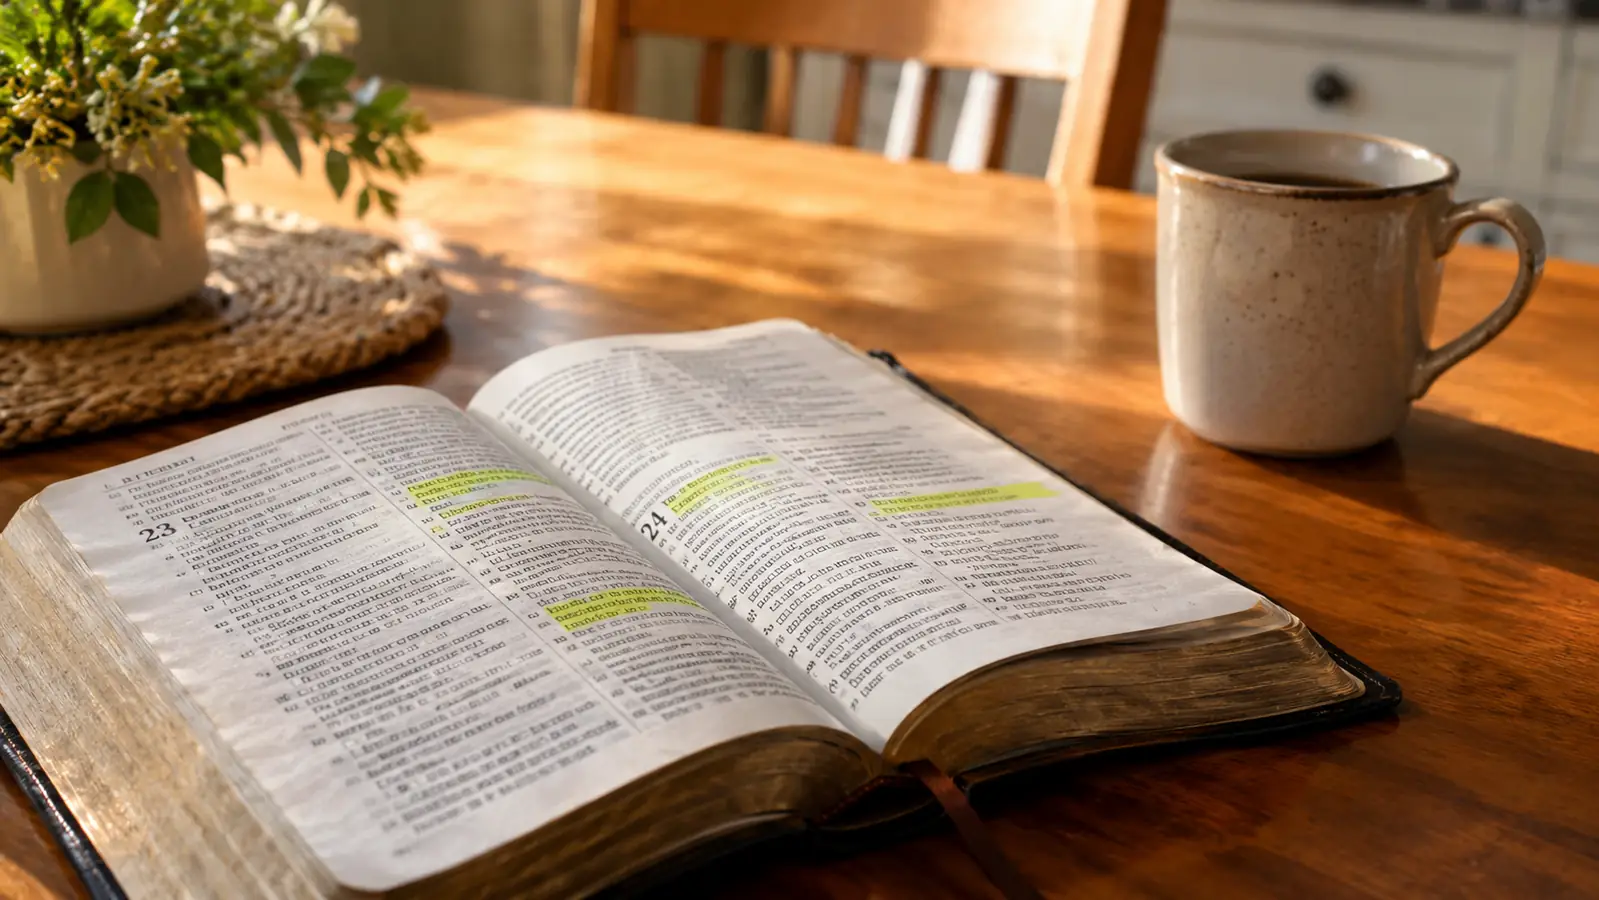
Step 4: Highlight the words, not the whole page
Some of us grew up highlighting entire paragraphs, the way we did in school textbooks. On Bible paper, that is a lot of ink on a very thin surface. You do not have to highlight every word of a verse to make it stand out. Highlight the key phrase, or the name of God, or the single word that the verse turns on.
This is also better for your study habits. When you look back at a page, your eye goes straight to the words that mattered to you. You remember why you marked them. A page covered edge to edge in highlighter stops meaning anything, because everything is equally loud.
I have started treating my highlighter like a pencil for underlining. A short stroke under a phrase, or a soft wash over a single word, is enough. The page stays readable, the paper stays dry, and the verses you marked still catch your eye weeks later.
I had to unlearn the way I marked textbooks in college. In those books the paper was thick, and nobody cared what the back of the page looked like. So for my first few years of Bible study, I highlighted whole paragraphs, and my pages were a mess of color with the words underneath barely readable. The turning point came when I looked back at a passage in Philippians I had marked six months earlier and could not remember why I had highlighted any of it. Every line was equally bright, so nothing stood out.
Now I mark the way I underline: a short stroke under the phrase that matters, or a soft wash over one word. In Psalm 23, I highlighted only 'the Lord is my shepherd' and the word 'restores.' When I flip to that page now, my eye lands on those words before I read anything else, and I remember exactly what I was thinking the morning I marked them. That is what highlighting is for.
Step 5: Pair your highlighter with a fine gel pen for notes
Highlighters are for the big picture, but most of us also want to write a word or two in the margin. That is where a fine gel pen comes in. The BLIEVE set includes gel pens that write smoothly on thin paper without pressing through, which makes them a natural partner for the highlighters.
Use the highlighter to mark the verse, then use the gel pen to jot a date, a name, or a short note in the margin. The combination gives you a page that is both colorful and useful. I have found that writing a one-word reminder in the margin, like 'peace' or 'wait', helps me find the verse again months later.
One note: let the highlighter dry before you write over it with the gel pen. If you write on top of wet highlighter, the gel ink can smear. A few seconds of patience keeps both colors clean and separate.
What Else Helps
A few other habits have made highlighting easier for me over the years. First, keep a piece of scrap paper under the page you are marking. If you are working near the end of the Bible, or in a section where the pages are especially thin, the scrap paper gives the ink something to soak into instead of the page underneath. Second, use a desk lamp with warm light. I wear reading glasses, and good light means I do not have to lean close or press harder to see what I am marking. Third, do your highlighting in short sessions. Ten minutes of marking a few verses is easier on your hand and your eyes than an hour of trying to do the whole book of Psalms at once.
And if you are leading a group like mine, it helps to have a few extra highlighters on the table. Someone always forgets theirs, and a soft color is a friendly thing to share. The BLIEVE set has enough colors that everyone can pick their own, and the case keeps them from rolling off the table.
The test that changed my study routine: draw a line on the back page, hold it up to the light, and if you can see it from the other side, that pen stays in the drawer.
Keep your pages clean and your verses marked
The BLIEVE aesthetic highlighters and gel pens are the set I keep on my kitchen table. Fast-drying ink, a chisel tip that works on thin paper, and colors that make your study pages a pleasure to come back to.
Amazon Check Today's Price on Amazon →